Photo Editing
 Hey cuties!
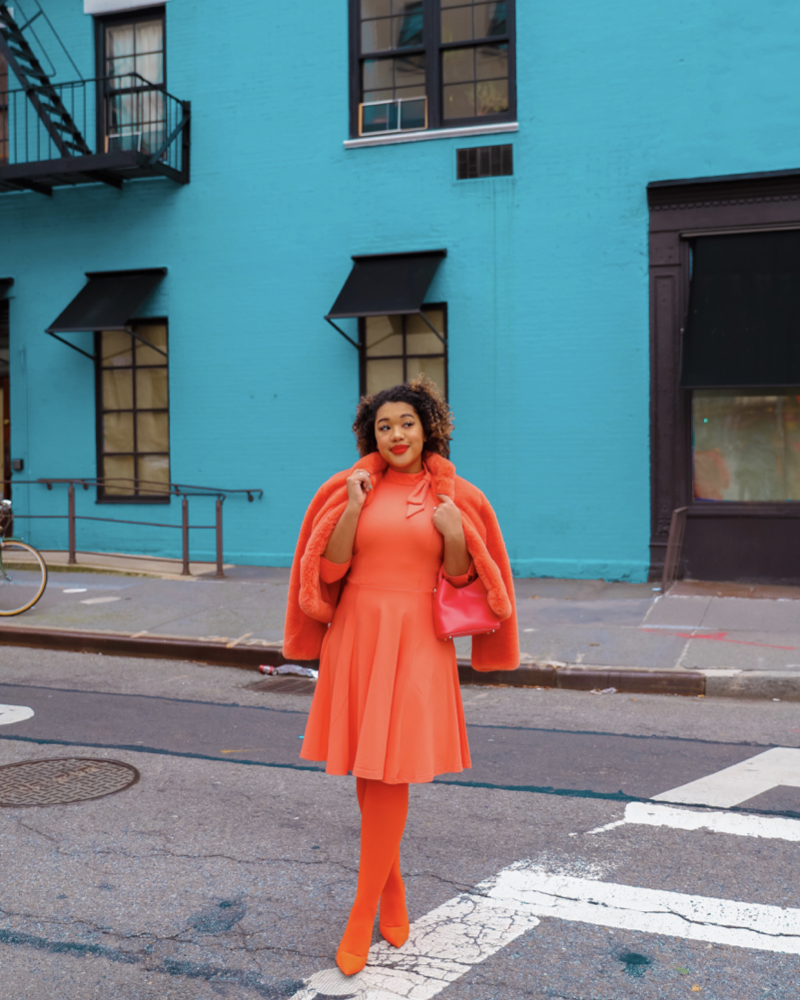
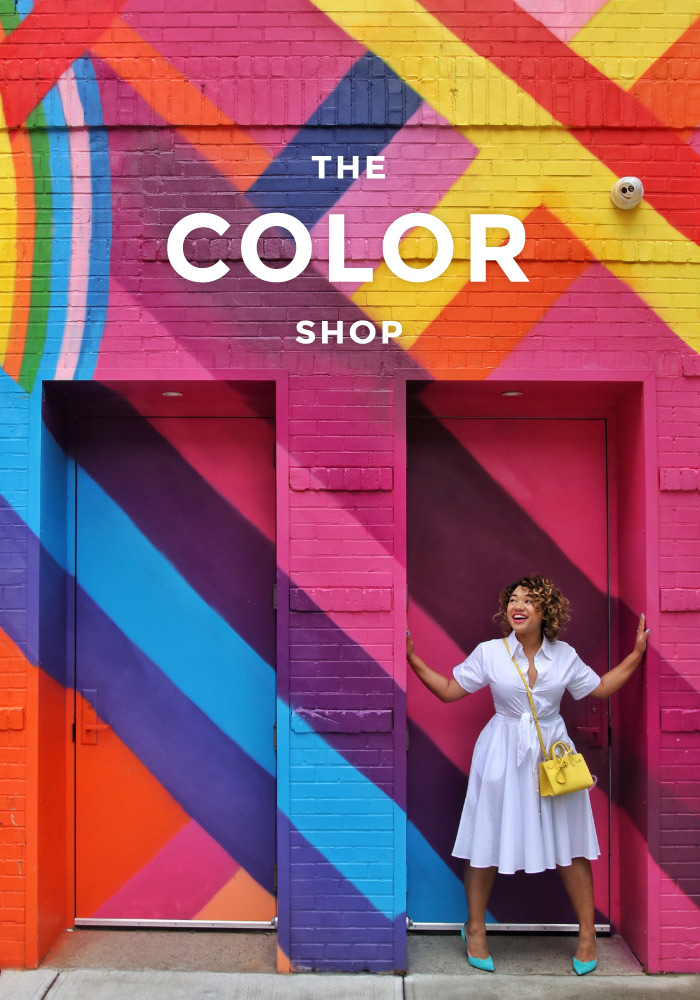
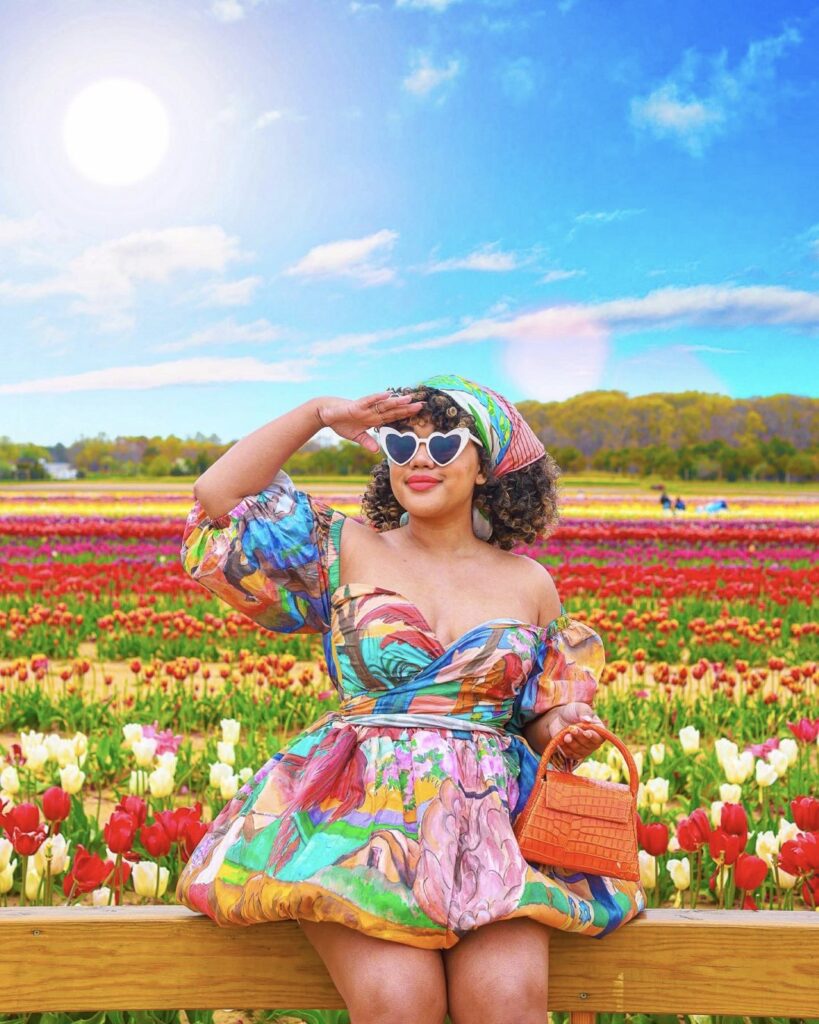
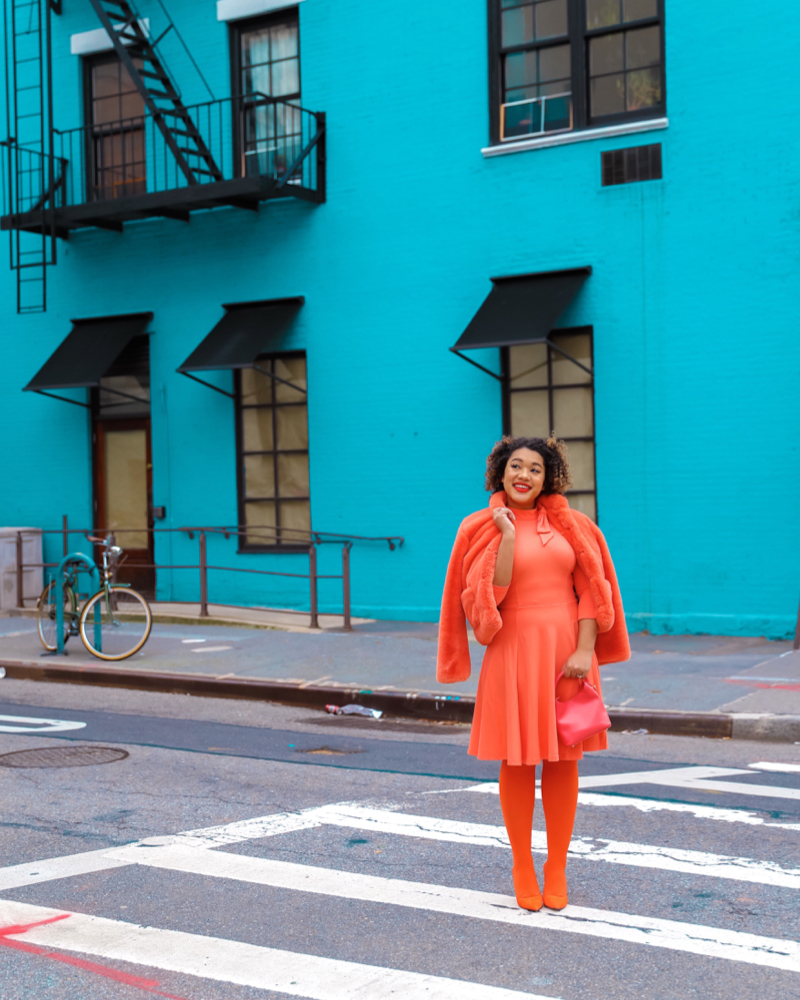 We’ve been celebrating coral all month long as our color of the month, and it also happens to be Pantone’s color of the year. To celebrate they created this fun and vibrant collection for unique vintage that I’m showcasing for you in this post.

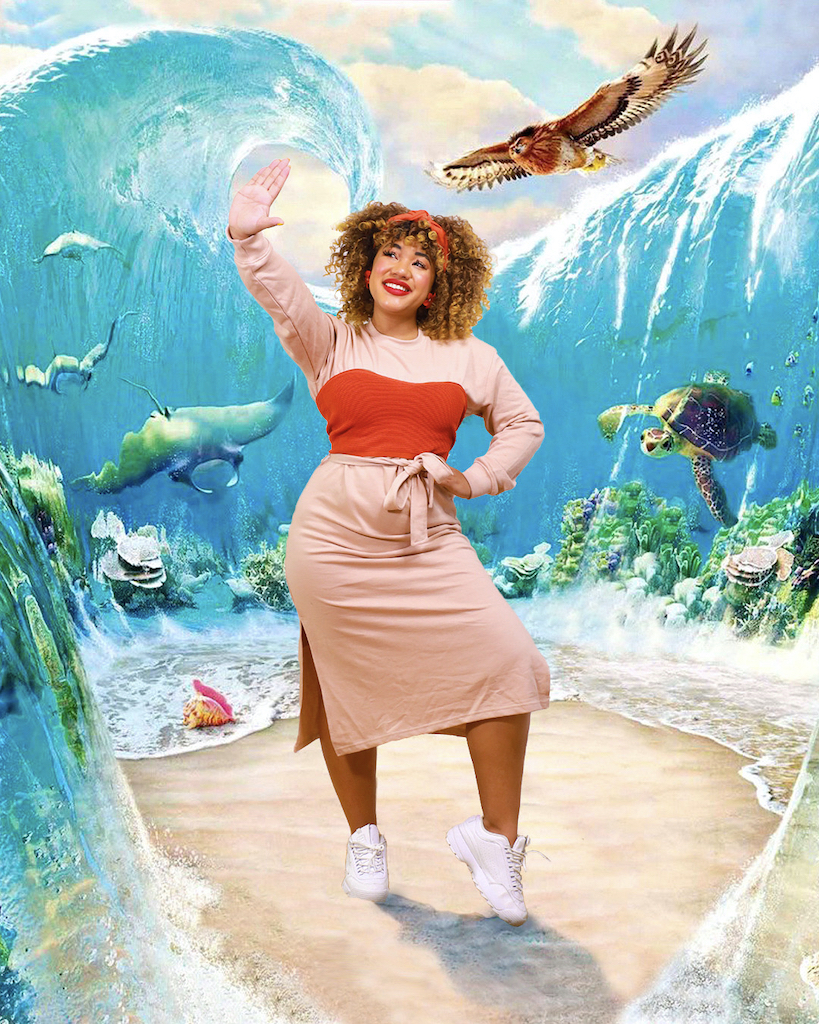
SHOP: Dress || Plus Dress || Coat || Tights || Shoes || Purse
I feel like the collection speaks for itself, so I wanted to talk about something totally different in todays post. I always get a ton of questions about how I edit and organize my photos for my instagram feed, so today I wanted to share a bit of the BTS of what you seen.
Keep it free – so one off my goals at Color Me Courtney is to always try and use free tools for editing when possible so that you guys could recreate what I’m doing with minimal expense. When it comes to video and photo editing I have a few things I’ve paid for especially for increased storage size and to speed things up, but in general I use free tools and thats what I’ll share with you here!
From my phone – so I like to edit almost all of my photos on my phone because then I can do so using these free apps and I can do it on the go. I’ll spend my free time on the subway or in-between meetings editing content so I don’t have to do it later.
Snapseed – the app I’ve used the longest to edit photos from my phone is snapped. Its completely free and easy to use. For most photos I turn the ambiance up to start, then I’ll add saturation up and the temperature down a bit to prevent myself from looking too orange. If I need to, I’ll then go in and selective edit, increasing or decreasing parts of the photo to make them pop. Sometimes I’ll sharpen a photo to make it a little more crips, but I usually don’t need to unless it was taken on a iphone. With snapseed you can also save your edits and paste them into new photos, and this is usually what I do to mess edit a few at a time for constant edits. If theres some unwanted trash or a cigarette on the floor of a photo that I missed before, I’ll sometimes use the healing feature to remove it, and I also often will play with perspective and rotation to make a photo straight.
Airbrush – if a photo now looks grainy (again this happens usually with iPhone photos that have been color edited) I’ll pop to airbrush and smooth out the gradience that can occur in the sky or on skin. I’ll use it on my legs but unless a photo turned really bad I try not to use it on my face, I don’t mind that I have pores and acne and like to show that in my photo. But if you wanted to do some heavy retouching on your face and skin you could do that in this app.
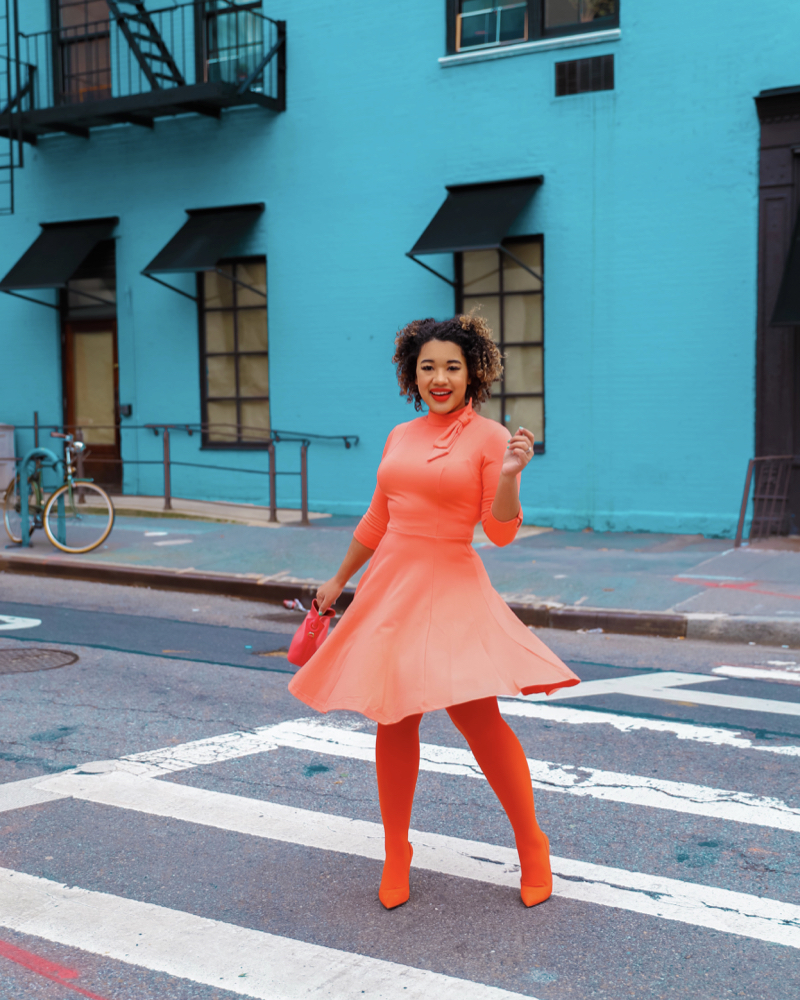
Lightroom – so the easiest and best way to edit photos is Lightroom but it can cost you. They have a free app on the iPhone that’s amazing but a lot of my favorite features will require the purchase upgrade. Here I usually start by slightly increasing the saturation and then using the color tool to adjust any other hues. I dont usually adjust the hues, but I did in these photos to give you a visual. I shoot at this blue building alot and its like real blue, I pulled it teal in hue so that its a slightly different shade. I also love the color noise reduction feature in Lightroom that prevents the graininess that can occur as described before. Using Lightroom + the color noise reduction will usually prevention from needing the airbrush tool all together.
A color story – another great app is a color story, this will give you present editing options and filters to apply to your photo. I’ll use it sometimes to give my photo a different feel, but in general I tend to stay away from filters. Of all the filter apps out there tho, this one is definitely the best for colorful and fun photos. They have a good mix of free and upgrade purchase filters plus allow you to access the curve tool, something I don’t use but can be really helpful for color editing if you take the time to master it.
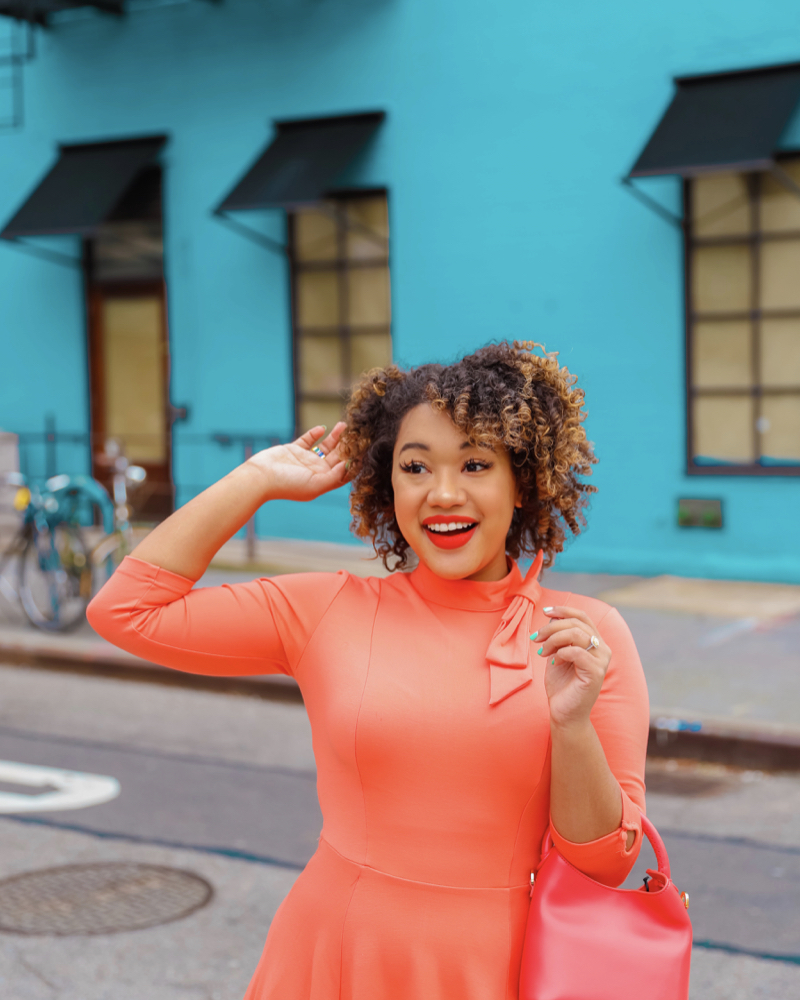
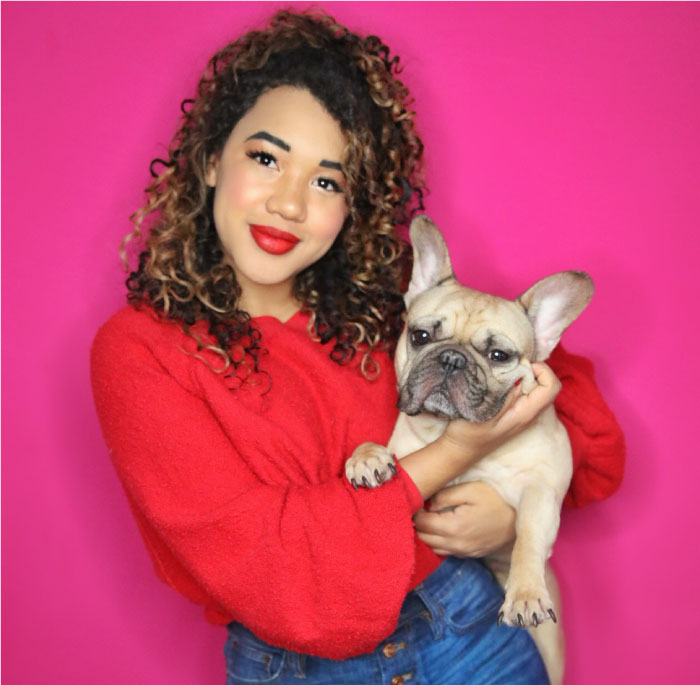
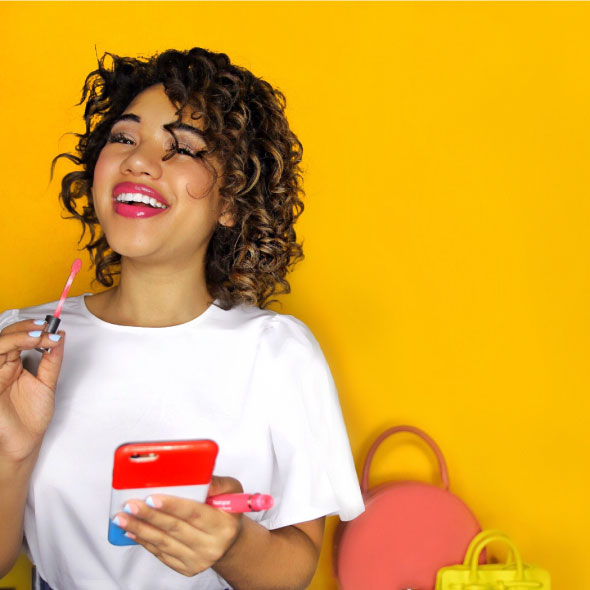
Skin tone tips – So as wonderful women (or men) of color we have a lot of cool and unique undertones in our skin that I find to be kind of hard to edit. I have some yellow and green undertones so if you pull that saturation up too high I look sick, Paris on the other hand has red and pink undertones which is a whole other animal to edit. So when I have to edit shots with post of us in it I run into some issues. If you find yourself looking orange when you edit there are a few things that can help.
1 – using ambiance instead of saturation in snapseed will usually brighten the background without turning your skin any sort of crazy colors.
2 – pulling the temperature down like I described earlier in snapseed, can usually catch it while helping you keep the saturation up. The pair together do a good mix of killing most skin tone issues. If it still persists, I’ll edit in light room.
3 – in Lightroom using the color edit tool, you can control the orange which usually picks up for the skin tones. If you pull the saturation up first, then in and adjust the orange to pull saturation down and even play with the luminance you can usually prevent yourself from effecting the skin tone and still keep the color!
I hope that helped! If you want a detailed video showing you how let me know!
SHARE OR SAVE FOR LATER


Comments