

Jun
3
2018
3
2018
Jun 3 2018
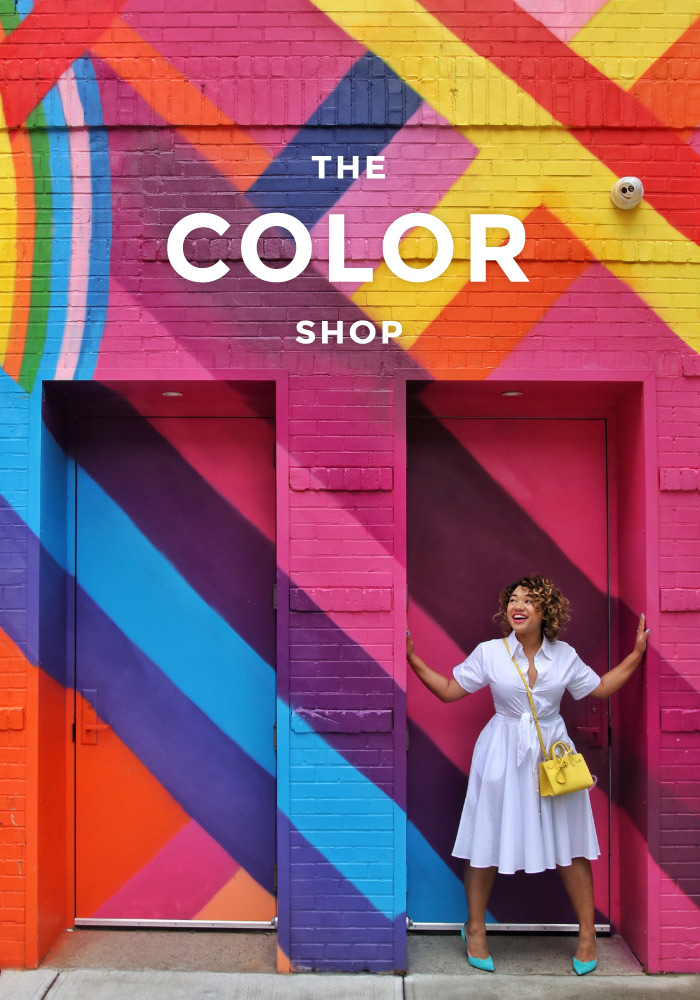
Green,
Dreamboat
 Hey Cuties – LETS TALK TREATS!
Today I’m sharing where to get the hottest summer ice cream treat + a full review. I’m also rocking a really cute jumpsuit & spilling the deets on how I hacked it to work for my short / curvy frame. Ready? Lets do this!
SHOP THE LOOK:
JUMPSUIT: Sizes: 00-24; I’m wearing US 4 $89
SIMILAR SUITS:Sizes: XXS-4X $99 || by XXS-4X $49.99 || XXS-4X $129
BRA: Strapless Bra $65 || BAG: Backpack $124.97
SHOES:Wedge $159.95 || Similar $34.98
SUNNIES: Heart $50 || Orange $16
SHOP THE LOOK:
JUMPSUIT: Sizes: 00-24; I’m wearing US 4 $89
SIMILAR SUITS:Sizes: XXS-4X $99 || by XXS-4X $49.99 || XXS-4X $129
BRA: Strapless Bra $65 || BAG: Backpack $124.97
SHOES:Wedge $159.95 || Similar $34.98
SUNNIES: Heart $50 || Orange $16
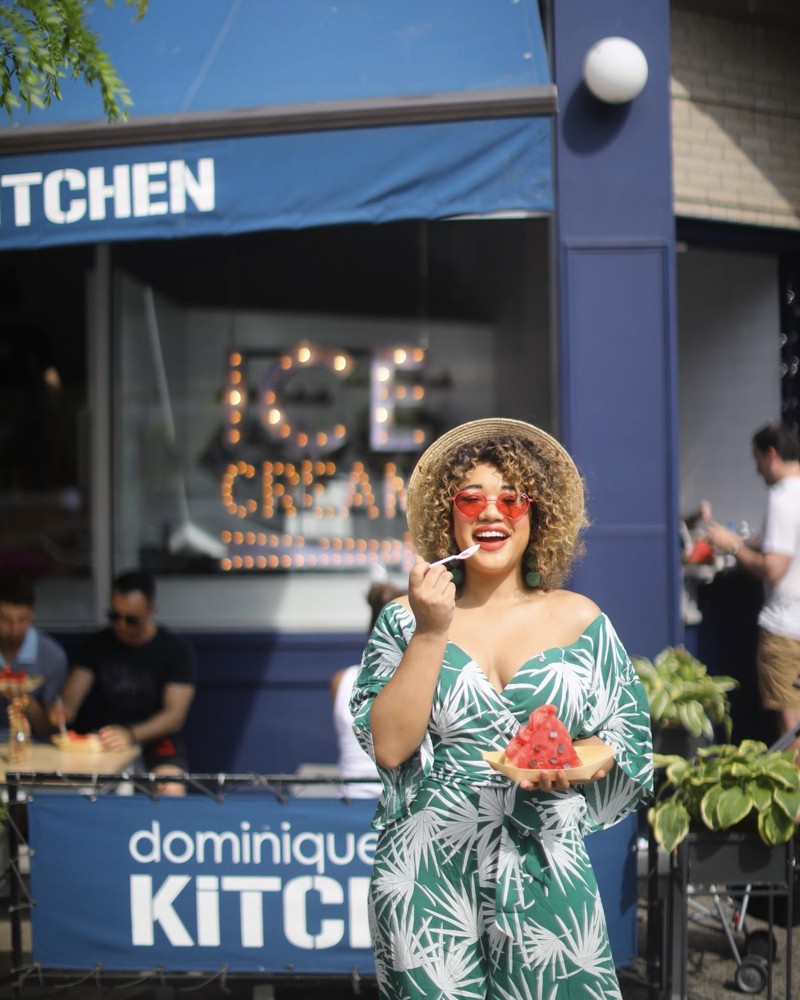
Last weekend I was walking through soho when I ran into one of my favorite #colormecuties, her and her hubby were on the hunt for a watermelon ice cream dish but had sadly gone to the wrong Domique Ansel, she was at the soho location when its exclusive to the west village one. If the name Dominique Ansel doesn’t ring a bell the word cronut (croissant + donut) might – it’s his famous viral creation that caused people to line up & camp out for hours to eat. Well ever since DA has been adding new shops throughout the city and creating more insta-worthy dishes. The latest? A watermelon soft serve dream boat (literally) for your instagramming and eating pleasure.
Don’t run off quite yet! In this post I’ll share a treat review, tips for getting your best insta-snap and what I wore for our watermelon rendezvous because I GOTCHU.
THE TREAT DEETS: everything you need to know before you go!
WHAT: A watermelon fruit slice carved out and into a boat shape, then filled with water melon sorbet soft serve. The boat is also adorned with sweet seeds you can eat, made from dark chocolate chips yum!
WHERE: This watermelon creation is only available at the west village location on 7th ave, not at any other DA locations!
WHEN: We went around 4pm on a Saturday, there was a line of 2 people in front of us and one person working the booth. We waited for about 5 min in line and it took less than 2 min to make (they make it live infront of you, but the boat is pre assembled so they essentially just add the soft serve).
WHO/HOW MUCH: The sweet treat costs $10 per boat, it’s not super share-worthy so I suggest one per person.
WHY: BECAUSE ITS FUN! and because its summer!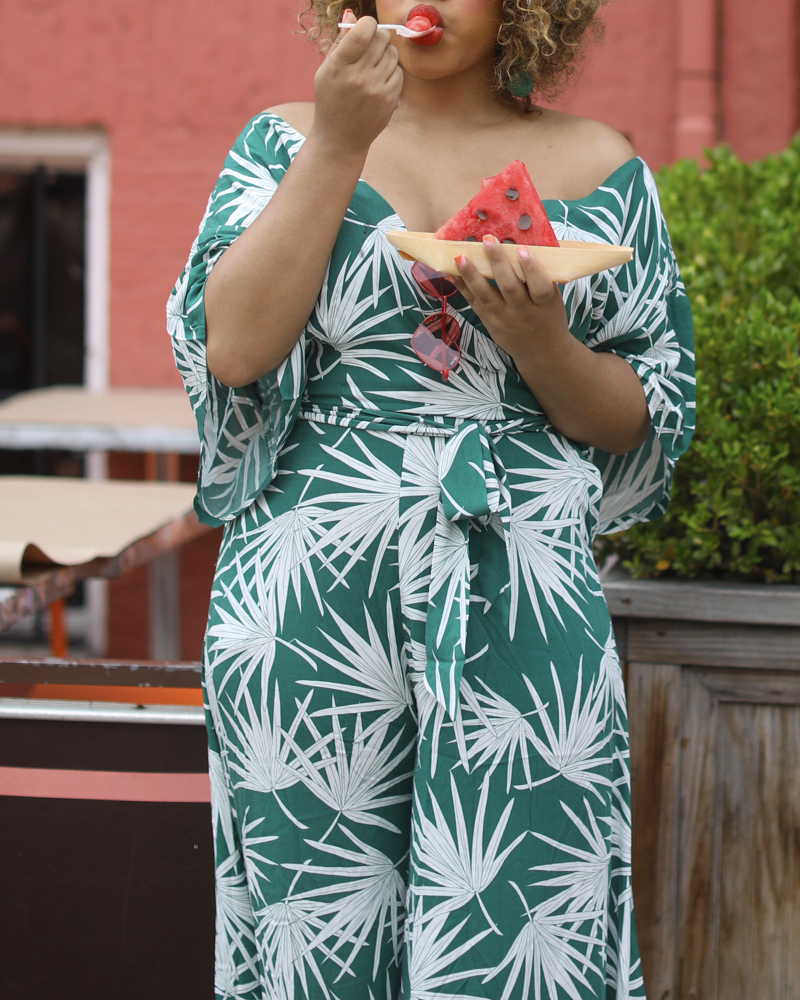
#FORTHEGRAM – How to get the perfect shot
I’ll start by saying I don’t believe in doing things for the gram, mostly because I don’t believe in posting things I wouldn’t do, wear, say or eat IRL. If you do, no shame, but I wanted to be clear on that before we got started here.
So if you want to get a instagram worthy snap of the watermelon dream boat (or really any meltable ice cream treat) here are some of our learned tips and tricks.
1 – SCOUT: Start by scouting before you get your snack. Once you get to your desired desert location look around or even take a lap around the block looking for your perfect insta-pic. For me, you now I like a colored background so this can be TOUGH. Luckily there are a few great spots right around Dominque Ansel, I’ll share two that we took at to show you at the bottom of this paragraph: location 1 – outside Domique Ansel, 2 – Pink restaurant Wall Across the street (see photos below). The best option, is to grab a seat under the Ice cream sign – because the owning will give you shade and the light up markee will make for a CAUTE pic. To get this snap, you’ll sit right in front of the ice cream sign while your photographer snaps you from across the table or the other side of the barrier. But if this prime Realestate is taken (it was for us) you can stand from the other side, instructing your photographer to stand in the bike lane and line you up so you block the people in the background (like I did). Just be sure to watch the lane for any coming bikers and warn your photog, I like to yell GET OUT GET OUT and Paris obviously hates that lol. If you don’t want to block traffic for your pic (like we did) you could sit all along the restaurant wall even if you’re not outside the Ice cream letters, you’ll have some blue and some shade to keep you and your melon for melting. Finally Domique Ansel itself isn’t cutting it, run directly across the street to a cute little pink restaurant (of course I forget the name, but you wont miss it) for a cute pink back drop. There are also some white double doors and a nice brick background on that side of the street if you prefer those!
2 – TEST SHOT: Once you have your location, take a test shot before you have the treat. This is super important if you’re working with something melty because you want to make sure your camera settings are just right and you don’t waste any time. Any second spent in the summer sun will turn your soft serve into slush, and potentially ruin your pic! You can see in some of my pink background shots that we were pretty melted.
3 – MONEY FIRST: Most transactions (especially ice cream) they take your order, make the treat and then hand it to you and ask you to pay – that extra time can be precious melting minutes where your dessert is starting to drip – yikes! Instead I ask to pay first (before they make the treat) if they give you any crap just act like you wont have enough hands to do so after the fact, but they don’t usually care. This gives you a few extra minutes, or longer depending on how long their CC machine might take.
4- ME FIRST: Sorry Paris, none for you. Another secret to getting the right shot is to keep your photographer hands free and focused, that means no ice cream for them well not till after you get the shot. We learned early on that Paris And I cant both have a treat in hand while snapping, so I buy mine first, we take the shot, check the picks and then we get back in line and get his. This way his treat wont melt while he’s shooting me, it also protects our cameras from any unwanted drip and if for some reason we cant use the first shots and need to rebuy to reshoot we can I can use his for the start instead of wasting money on a 3rd.
5 – SUNNIES: If you have trouble keeping your eyes open in shots, especially with sun (guilty) be sure a bring / wear sunglasses for your shot. I don’t usually like to shoot with sunnies, but its helpful for pressure situations because it can keep the sun out of your eyes and hide if your eyes are closed in the shot (which mine often are)
LOCATION 1 DOMIQUE ANSEL: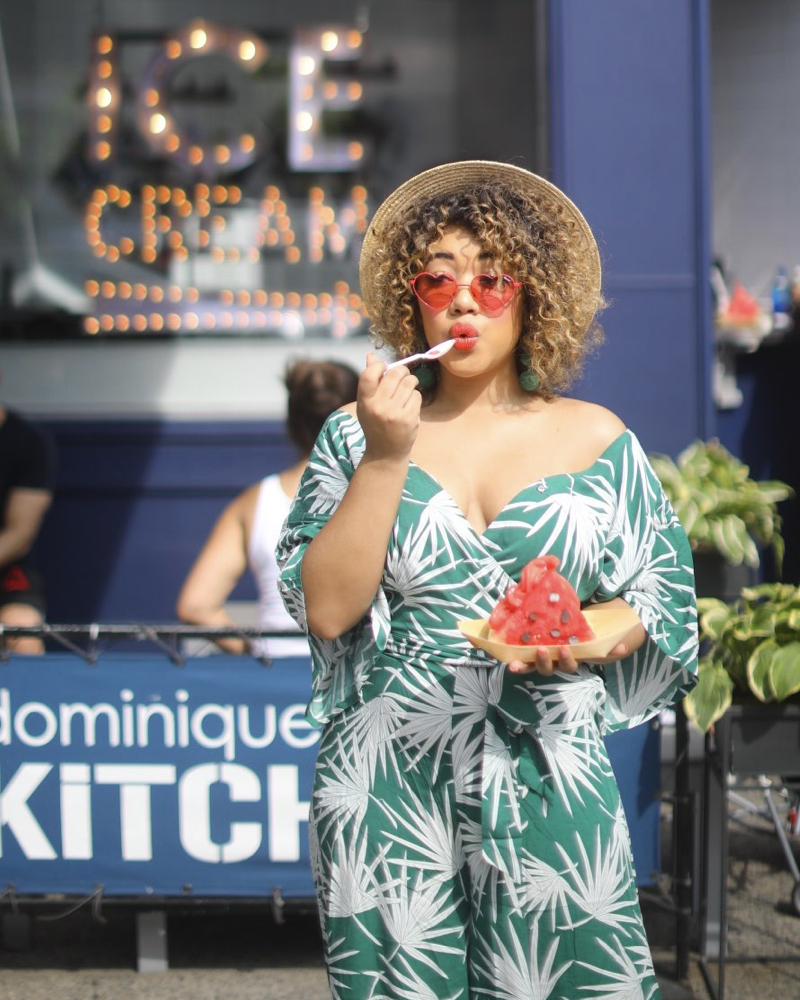
LOCATION 2 PINK WALL ACROSS THE STREET: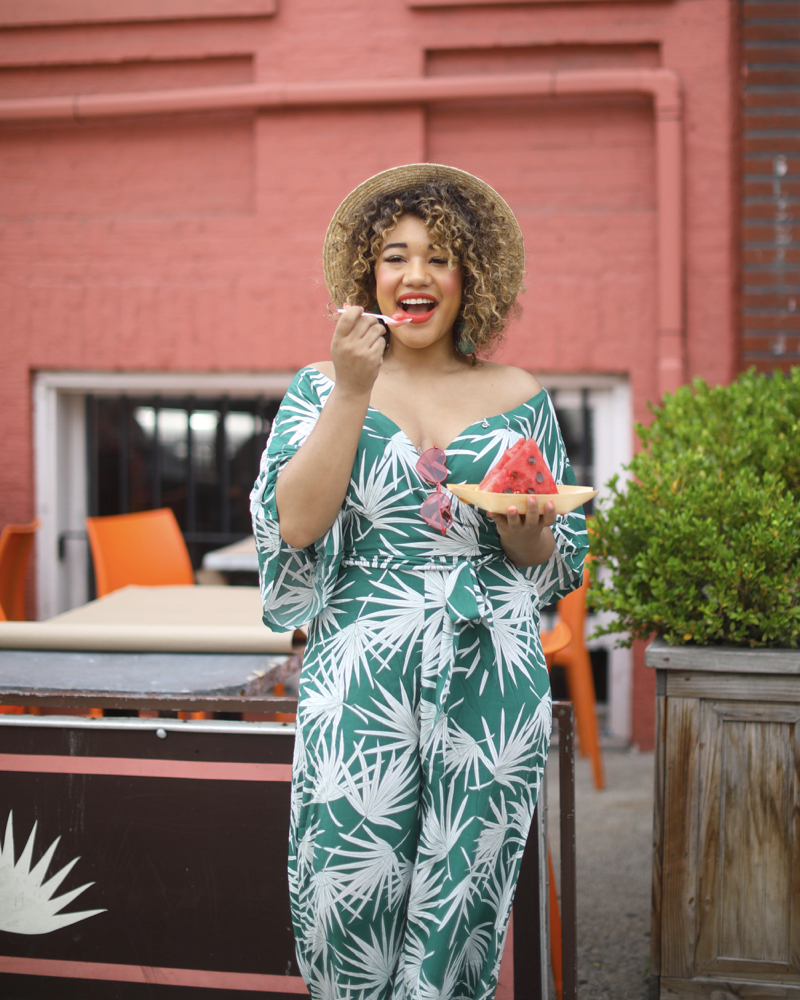
REVIEW – So Is the watermelon worth it?
Yes and no. So the concept is really fun and actually edible. If you like watermelon, the sorbet is your new best friend. Its the best watermelon flavored soft serve I’ve ever had: juice, sweet, flavorful and not to tart or watery (like I thought it would be). In terms of portion size, its perfect for one person if you just ate or aren’t that hungry, but I wouldn’t expect it to hold you over or pass as a meal (something I sometimes like my desserts to do if I eat them in lue of lunch). It’s also not really sharable or $10 worth of treat, Paris and I did share it but full disclosure I also ate a salad, a pop bar pop and a cookie before the day was over and I wasn’t that hungry lol. It also melts really fast so ours was mostly juice by the time we actually got to eat it, but that’s not too new something we sacrifice for the gram lol. BUT all in all I would get it again and do recommend it, especially if you want a cute IG pic.
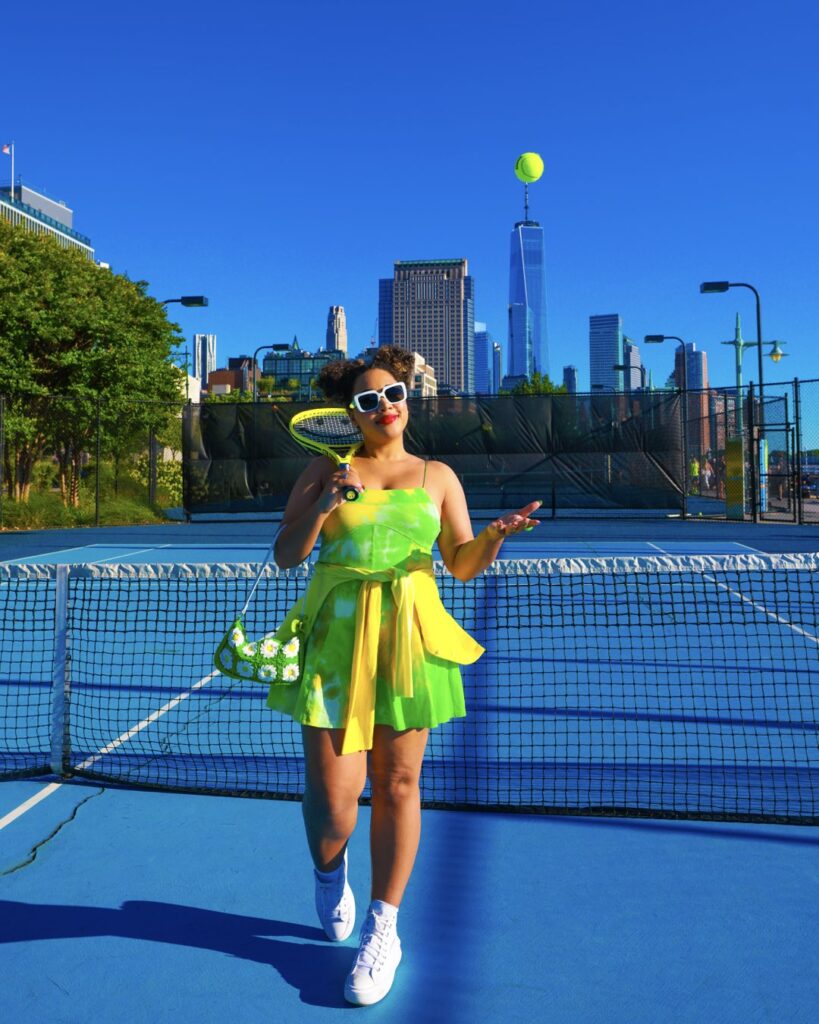
WHAT I’M WEARING
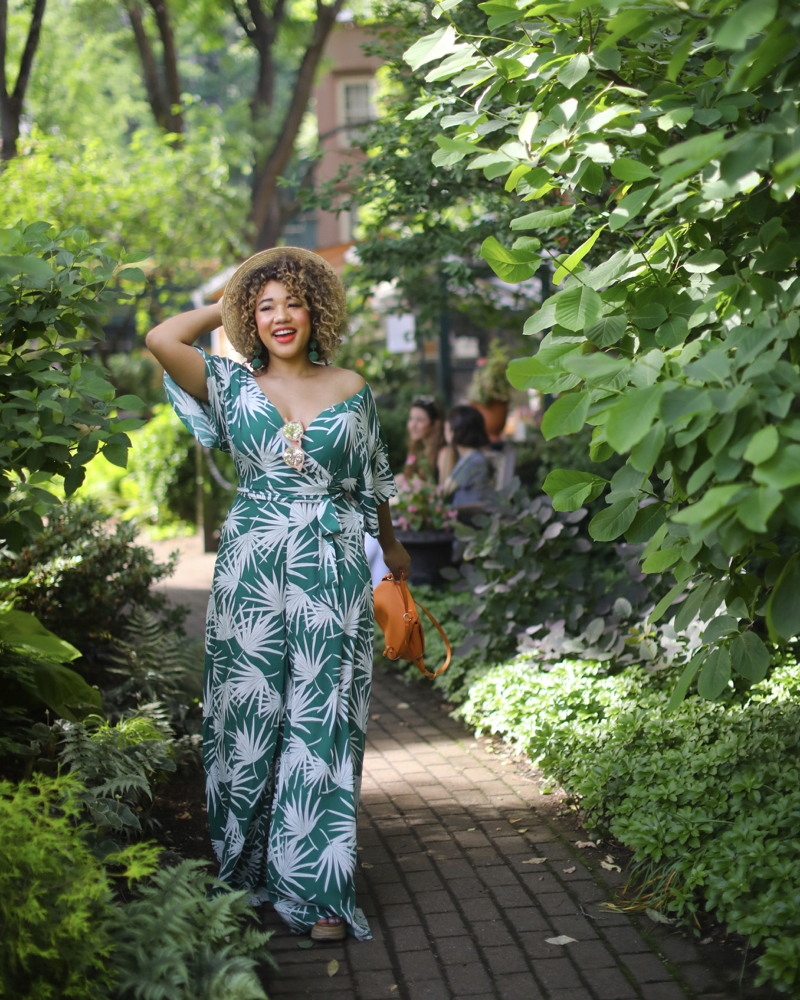
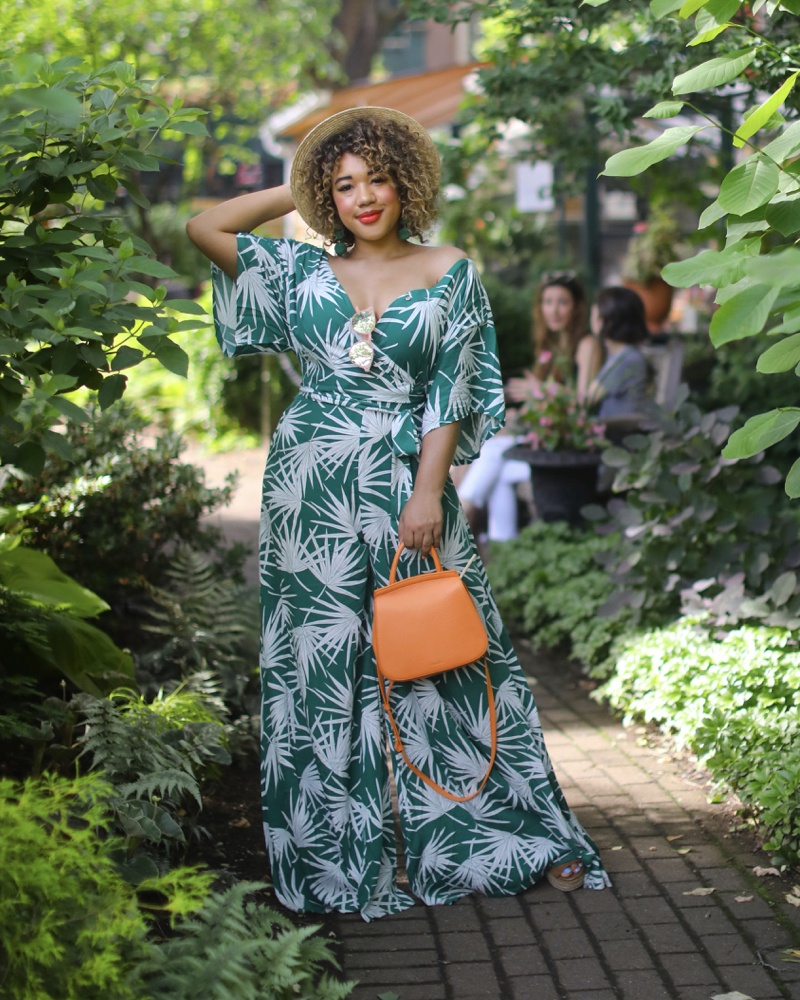
Well that was a lot of watermelon talk, but what about the wardrobe? For this look I wore a really cute palm print wrap jump suit.
There are so many things I liked about this look, but so many I didn’t like:
Length – The legs were too long
Bust – The top was unflattering and ill fitting
Waist – The waist was bunchy & not fitted enough for me
With all these issues you would have thought I would decided to return it right? Wrong ! Here’s how I fixed it:
Length Fix – I fixed the length issue (and the waist issue a little too) with a quick tuck & twist. Under my jump suit I wore high waisted spax shorts (I wear these or something similar under almost everything to prevent chaffing in the summer & a food baby year around). I unzipped the back of the jumpsuit and took the top of the waist part of the suit and rolled it inwards, tucking it into my shorts and shortening the torso / length so it fit just right. Once I had it where I wanted it, I pinned it from the inside, securing the fabric to the Spax on either side before zipping back up. There was a little bulge (barley) but I didn’t worry because I knew I would fix that when we fixed the waist. When I needed to use the bathroom I didn’t un pin, I just took off my Spanx with my suit and pulled it back on. I might leave these Spanx in it for the next time I wear it, so its already ready to go./
Length Fix – Even after the first fix, it was still too long in the leg (I’m 5’1 with hair, otherwise closer to 5 foot, so most things are) so I stepped into my tallest platform espadrille wedges that I save for crazy long pants like these. They’re probably 8 inches tall, but the ankle strap makes them really comfortable & supportive all while being just the right height for these pants.
Bust – So the top has a clasp that closes the jump suit up and covers your girls, when I tried it that way It looked ill fitting, sloppy and matronly. I love my boobs, so I wanted to show them (a bit) but still feel secure and supported. I decided to put on a strapless bra (make sure its a good / supportive one that wont budge so you feel confident all day), unhooked the latch and pulled the sleeve off the shoulder. Once I zipped up the back it was pretty secure, but to make sure I want moving I added 4 pieces of fashion tape, once of each boob and one on each shoulder. I didn’t have any movement in the 5 hours I wandered around the west village
Waist – So the waist was now looked a lot better and more defined thanks to the Spax tuck and bust fix that created more shape with this look, but the waist still had me looking bigger than I am. This is an issue I face often because I have a big butt and a small waist. With jumpsuits I’ll sometimes wear a large to cover my tush, even tho my waist is more of a size small. For this one I bought sizes 4 – 10 (yep four sizes) and was surprised to stick with the size 4. I think because the legs are wide I had enough room in the caboose, but usually I have to size up in things like this. Even the 4 was still to big on my smallest point, so I used the tie belt to wrap it tight and define my waist. Once I had it where I wanted it, again I secured it with a safety pin that I hid under the belt.
I know that might sound overwhelming, but honestly these are hacks I use all the time. Almost all of my outfits require at least one of these, mostly because as a curvy, short girl with a bit butt and a small waist not all clothes are made for me but that doesn’t mean I cant make them work! If you want to see a video where I show you these hacks, let me know in the comments below.
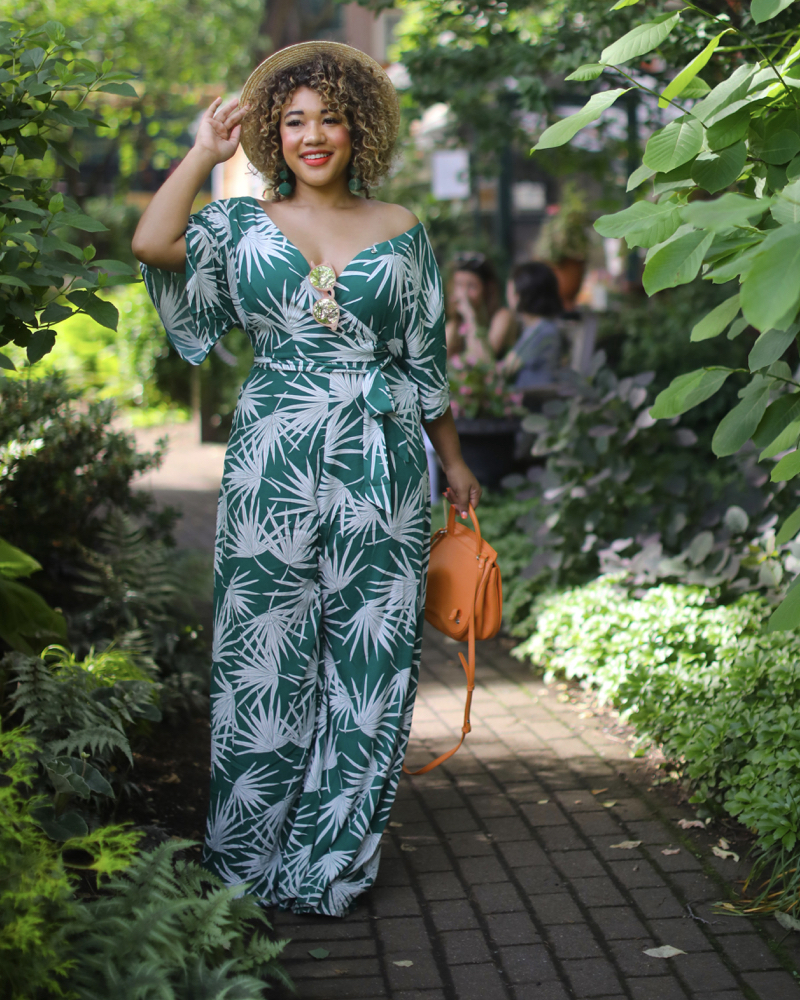
Location: these shots taken at the garden at 6th and Christopher (leaves) & Domique Ansel in the west village (blue)
SHOP THE LOOK:
& THE LOOK FOR LESS FOR ALL SIZES:
& THE LOOK FOR LESS FOR ALL SIZES:
SHARE OR SAVE FOR LATER

Hey girl hey..
I’m Courtney - a bright minded New Yorker with a serious sweet tooth a slight color obsession ;). Welcome to my world (and wardrobe) where I mix my matches, live colorfully & always dress outside the lines ! learn more >>
Browse by Category


<!– COLLECTIVE WIDGET CODE START
–>
<!– COLLECTIVE WIDGET CODE END
–>
Press Play


Comments